Pan sin amasado
Hello everybody, I hope you are having an amazing day today. Today, we're going to make a distinctive dish, Pan sin amasado. One of my favorites. This time, I will make it a little bit unique. This is gonna smell and look delicious.
Pan sin amasado is one of the most well liked of recent trending meals in the world. It's enjoyed by millions daily. It is easy, it is quick, it tastes yummy. They are fine and they look wonderful. Pan sin amasado is something that I have loved my entire life.
Many things affect the quality of taste from Pan sin amasado, starting from the type of ingredients, then the selection of fresh ingredients, the ability to cut dishes to how to make and serve them. Don't worry if you want to prepare Pan sin amasado delicious at home, because if you already know the trick then this dish can be used as an extraordinary special treat.
To get started with this recipe, we have to first prepare a few ingredients. You can cook Pan sin amasado using 8 ingredients and 13 steps. Here is how you cook that.
La vi por internet y me dije, vamos allá. Peso 980 g.
Ingredients and spices that need to be Prepare to make Pan sin amasado:
- 500 g. harina de fuerza
- 350 g agua tibia
- 7 g. (1 sobre) levadura seca
- aceite de oliva para evitar que la masa se pegue en las manos
- ----- para amasado final:
- semolina
- harina común o de lentejas (la de lentejas le da una imitación a integral)
- variado de semillas. opcional
Steps to make to make Pan sin amasado
- Estos son los verdaderos protagonistas.

- Entibiar el agua y una parte la utilizamos para que fermente la levadura en polvo, 15 minutos será suficiente.

- Pesar la harina, la sal y la removemos, para mezclar muy bien. Añadir la levadura y el agua, mezclar todo y dejar reposar entre 10 y 15 minutos.

- Pasado el tiempo, estirar la masa y plegarla sobre si misma.

- Tapar con film y dejar de un día para otro. Ejemplo: lo preparamos por la noche lo podemos terminar de hacer por la mañana siguiente.

- Este es el resultado, parece masa madre, su aroma es atrayente. Así lo dejaremos reposar entre 1 y 2 horas.

- Pasadas 2 horas vemos que a fermentado. Y pasar al amasado final.

- Limpiar el mármol. Y enharinar la basé, untar nos las manos con aceite de oliva.

- Plegar sobre si mismo alargando la masa, cortar con un cuchillo de pan para dejar greña.

- Para darle un estilo rústico, añadir semillas variadas y enharinar la superficie. Mientras reposa la masa precalentar el horno. Añadir una bandeja metálica en la parte inferior.

- Pasada la hora introducir el pan en la rejilla del medio, añadir agua en la bandeja para generar vapor. Dejarlo 15 minutos a 250°C.

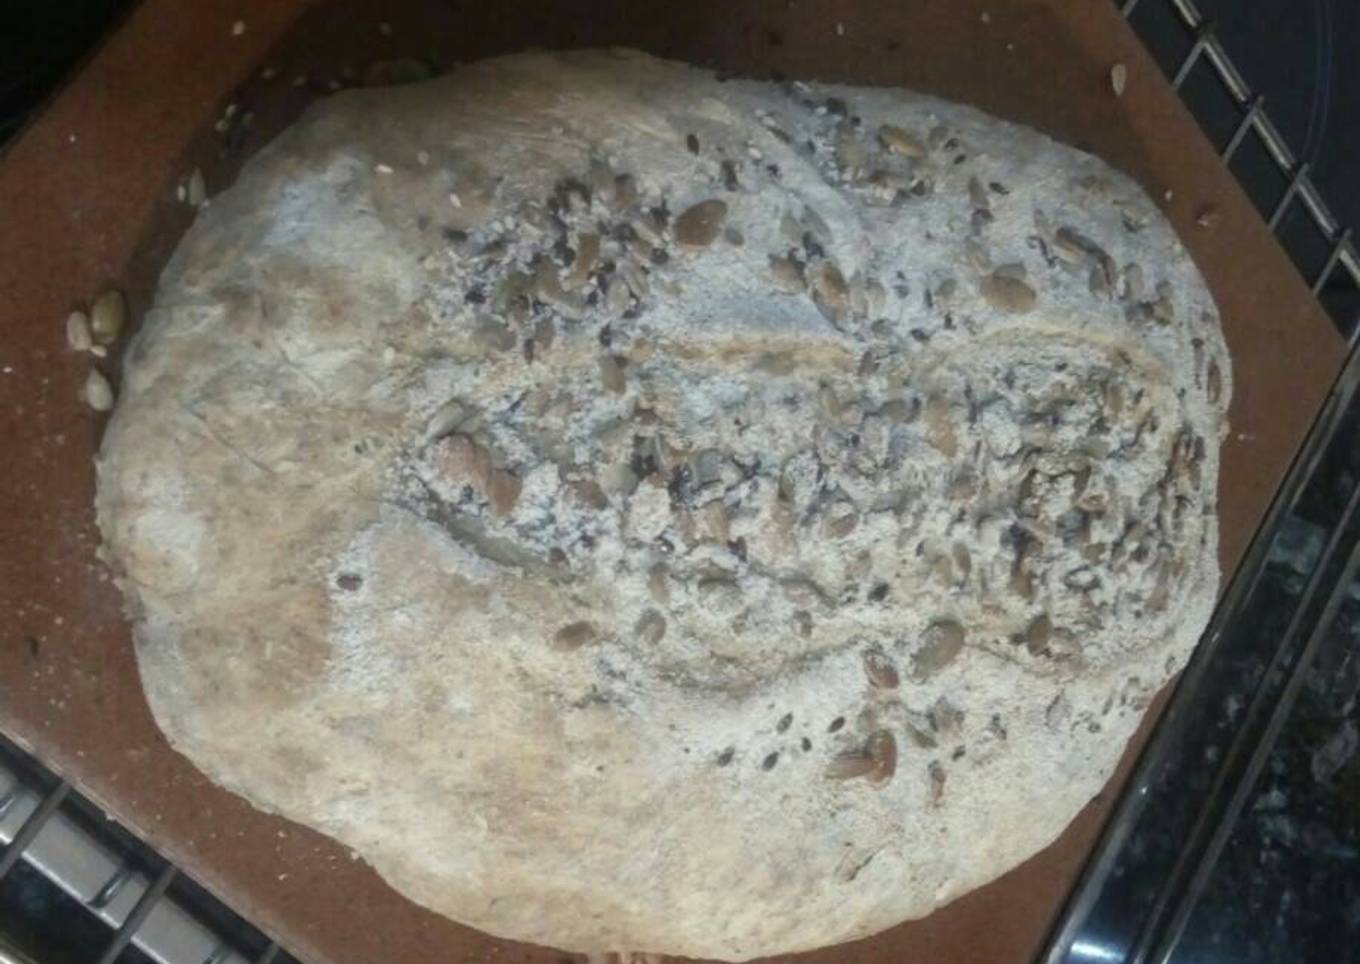
- Quitar la bandeja de agua y bajar el horno a 200°C. Continuar la cocción hasta que este en su punto. 30 minutos, dependiendo del horno. Sacar y colocar encima de una rejilla. Y dejar enfriar.

- Mirad la miga es tupida pero blanda. Quedo muy bonito.

As your experience as well as confidence grows, you will certainly find that you have a lot more all-natural control over your diet plan and adapt your diet to your individual tastes with time. Whether you intend to serve a dish that makes use of fewer or more components or is a little bit more or less hot, you can make straightforward adjustments to attain this goal. To put it simply, start making your recipes in a timely manner. When it comes to standard food preparation skills for novices you don't require to learn them yet just if you master some basic cooking techniques.
This isn't a full guide to fast and also simple lunch recipes however its great something to chew on. Ideally this will obtain your creative juices moving so you can prepare delicious dishes for your family without doing too many square meals on your trip.
So that's going to wrap this up with this exceptional food Step-by-Step Guide to Make Quick Pan sin amasado. Thank you very much for your time. I am confident that you will make this at home. There's gonna be more interesting food in home recipes coming up. Remember to save this page in your browser, and share it to your family, colleague and friends. Thank you for reading. Go on get cooking!


Comments
Post a Comment